Get Started Quickly with WordPress
Introduction
Although you might not have realized this, XAMPP comes with a number of add-on applications. These add-ons include Drupal, Joomla!, WordPress and many other popular open source applications. The add-ons can be easily installed on top of XAMPP using a simple installation tool and are pre-configured to work out of the box, freeing you from the time and effort of downloading and configuring the applications separately.
XAMPP add-ons are provided by Bitnami, which specializes in pre-configured infrastructure and application stacks for native, virtual machine and cloud use. Bitnami stacks work the same way across platforms - this means that by using the WordPress Bitnami add-on instead of "rolling your own" WordPress configuration, you’re guaranteed that your WordPress blog will look and work the same way even if you later migrate it from your local XAMPP environment to a cloud server.
In this article, I’ll walk you through the process of installing the Bitnami WordPress add-on for XAMPP, showing you how to quickly get started with one of the world’s most popular blogging platforms. Keep reading! == Assumptions and Prerequisites This tutorial doesn’t make a lot of assumptions, but the few that it does are important.
-
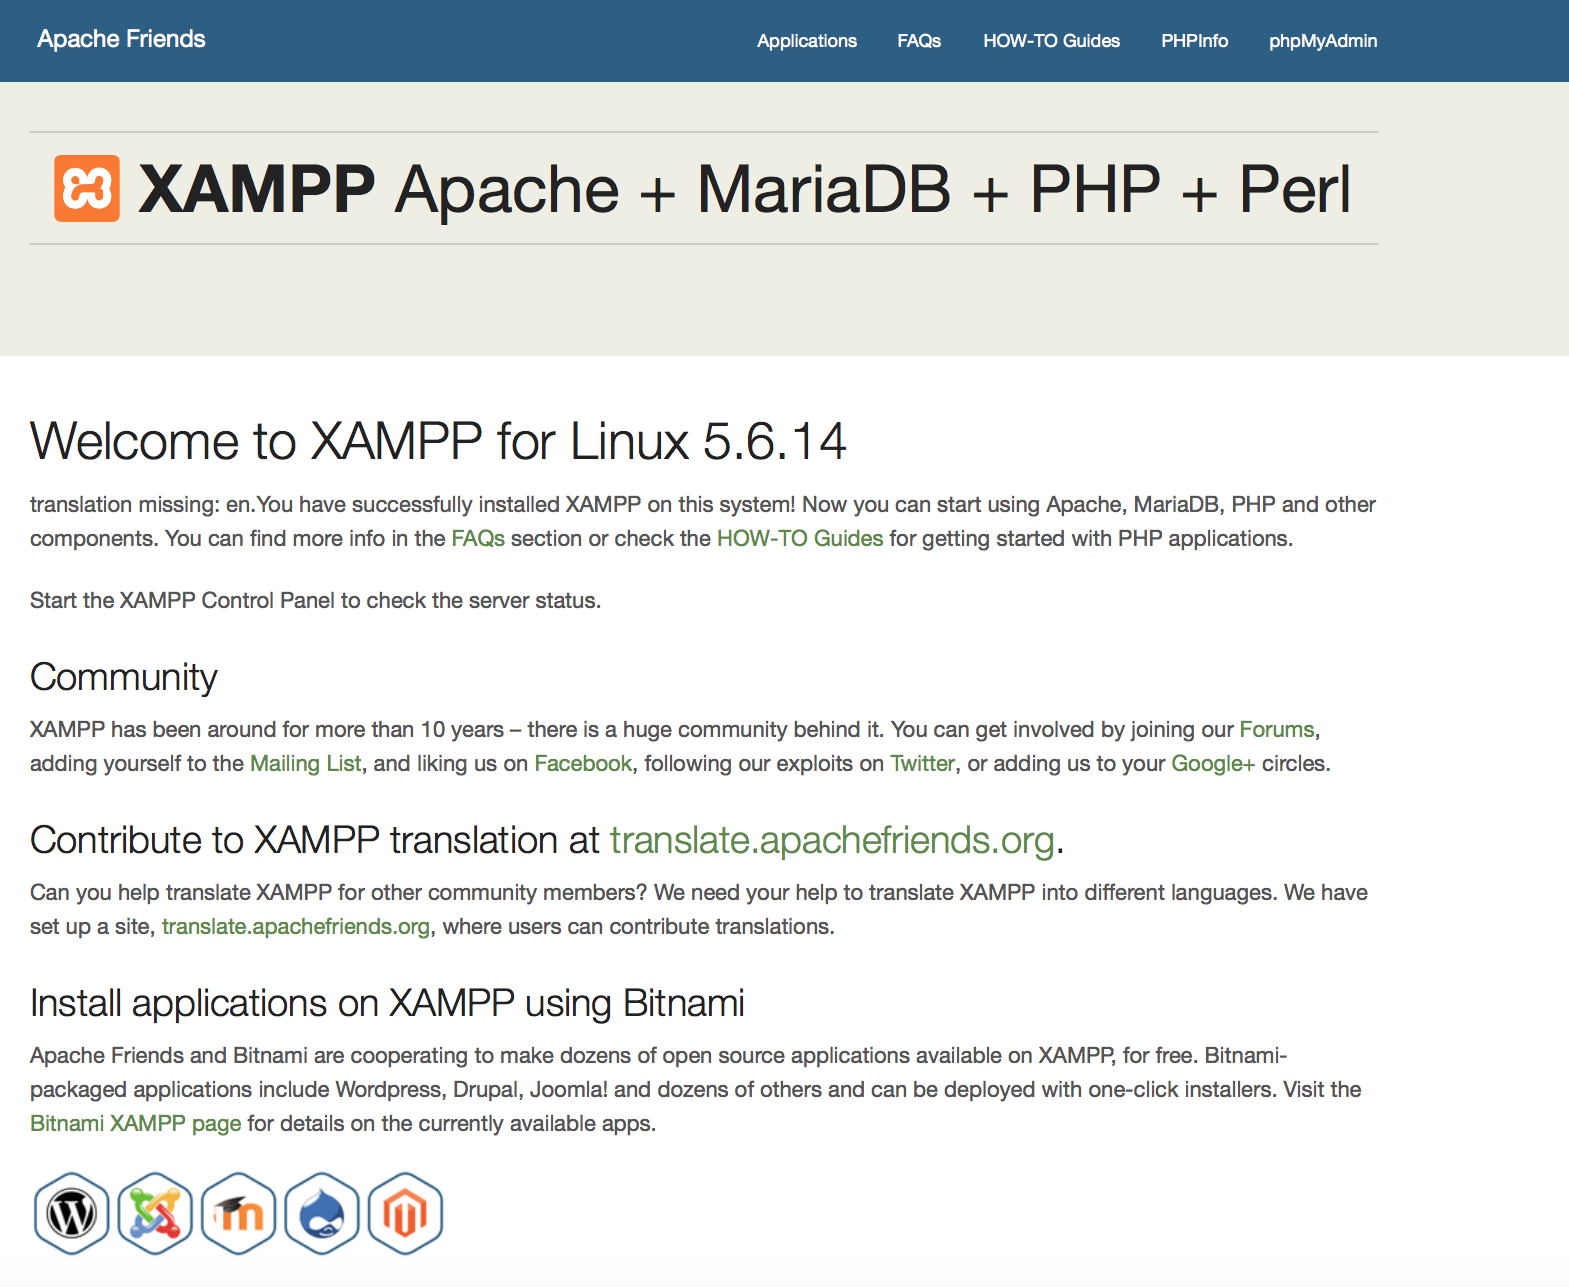
First, it assumes that you have a working XAMPP installation on Ubuntu Linux (Desktop edition), and that your XAMPP installation (including MySQL/MariaDB) is currently running. In case you don’t have this, download and install XAMPP and then, once it’s installed, check that it’s all working by browsing to http://localhost. You should see something like this:
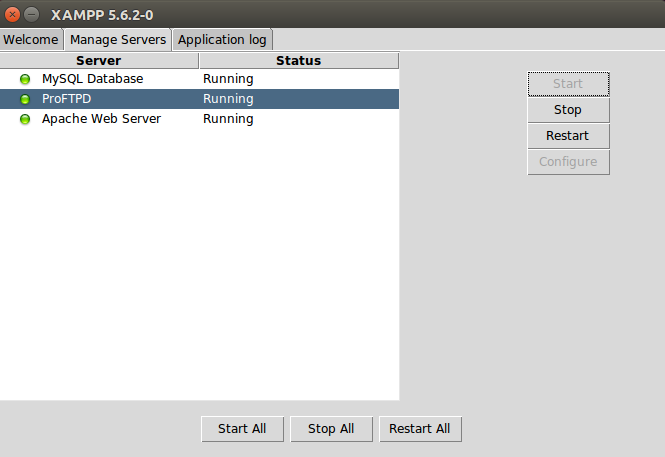
You can also check that both MySQL/MariaDB and Apache are running using the XAMPP control panel:
-
Second, it assumes that you’ve already downloaded the Linux WordPress add-on for XAMPP. In case you don’t have this, you can download it from the XAMPP Add-ons page. The add-on is an executable that lets you click your way through key tasks such as configuring the WordPress administrator account and setting up WordPress email notifications.
Did you check both the boxes above? You’re good to begin!
Step 1: Install Bitnami WordPress module for XAMPP
You can now begin installing WordPress on top of XAMPP by following these steps:
-
Open a new Linux terminal and ensure you are logged in as root.
-
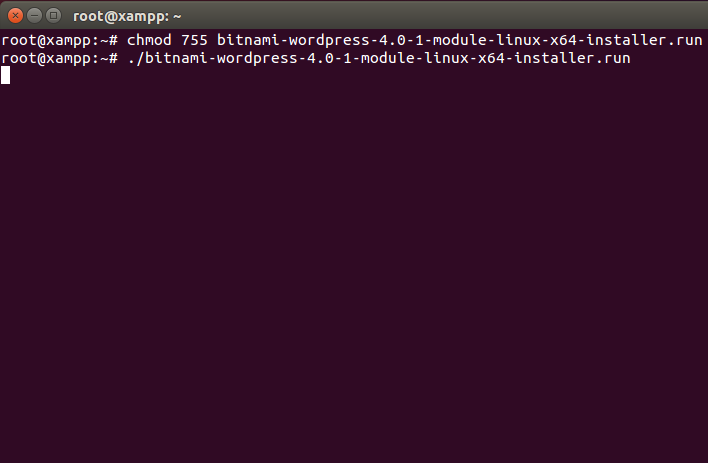
Change to the directory containing the downloaded add-on. Set the executable bit for the file and launch it (remember that your file name might differ from the one below):
chmod +x bitnami-wordpress-4.0-1-module-linux-x64-installer.run
./bitnami-wordpress-4.0-1-module-linux-x64-installer.run
-
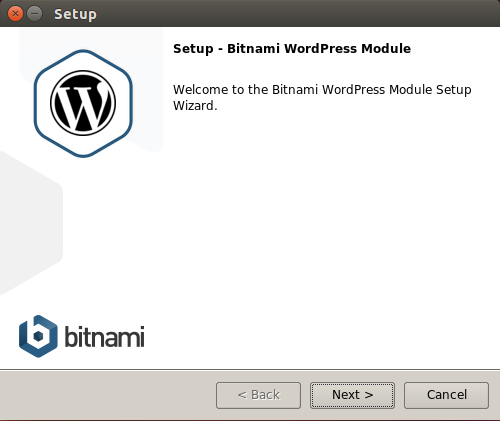
This will launch the installer and you should see a splash screen, followed by a prompt for installation language. The installer is available in nine languages, including English, Spanish, Simplified Chinese, Korean, German and Russian. Select your language and you’ll be transferred to the main setup wizard.
-
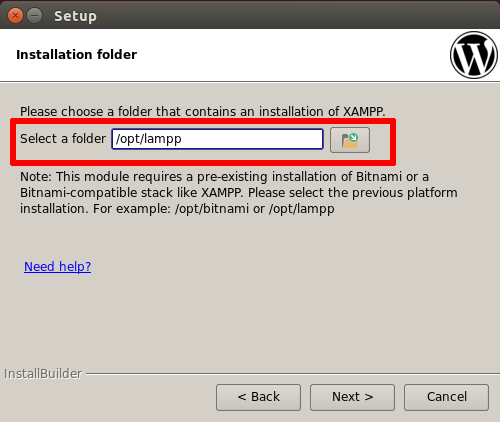
The WordPress add-on requires a pre-existing XAMPP installation. Select your XAMPP installation directory (usually, /opt/lampp).
-
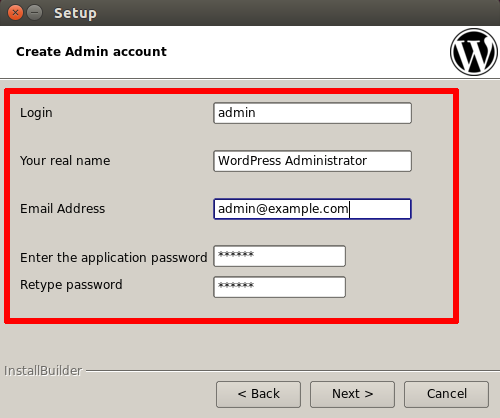
Next, you’ll be prompted to set up the WordPress administrator account. Enter a user name, real name and email address for the WordPress administrator account. Also, enter a password (minimum 6 characters) for the WordPress administrator account.
-
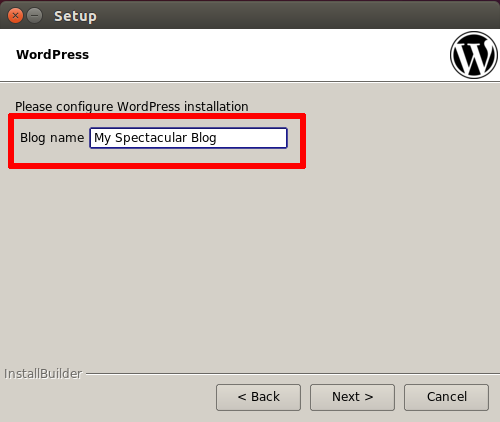
Next, enter a title for your WordPress blog. Don’t worry, you can change this later!
-
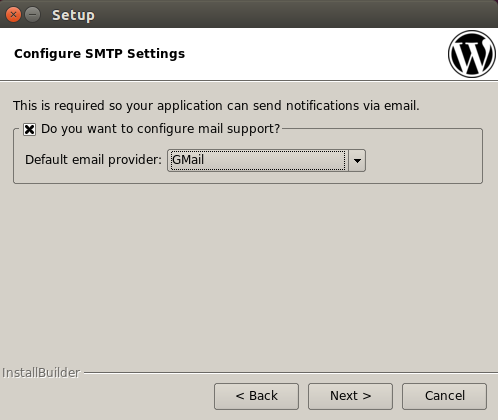
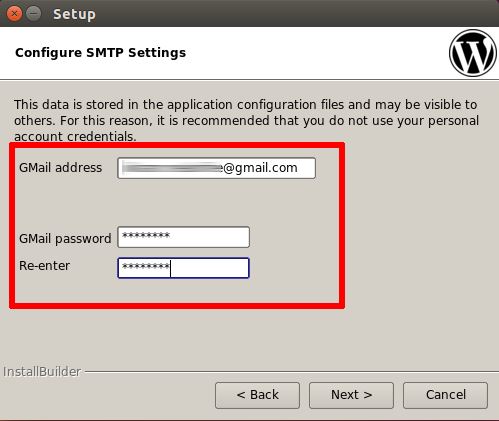
WordPress can optionally send you notifications on events, such as when someone comments on a post. The setup wizard lets you configure how these email notifications are sent out. You can either use a Gmail account or a custom mail server.
-
If you’re using a Gmail account, simply enter your complete Gmail address and account password. For security reasons, it is recommended that you set up a separate Gmail account for notifications, rather than using your regular Gmail address.
-
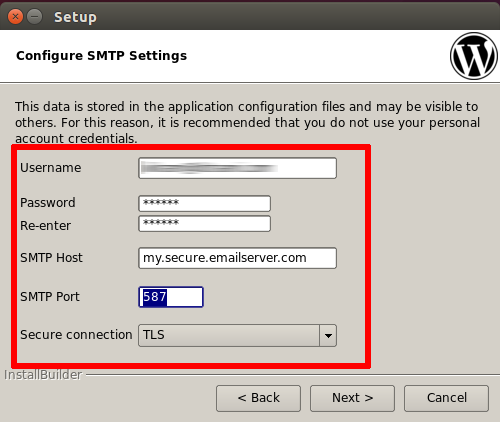
If you don’t have a Gmail account or if you’d prefer to use a custom mail server, enter details for the mail server, such as the account username and password, SMTP server name and port, and security configuration.
-
-
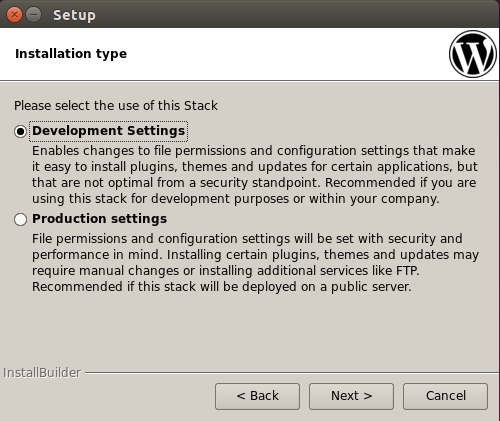
You’ll now be asked to choose between development and production settings. Choose the option best suited for your particular needs.
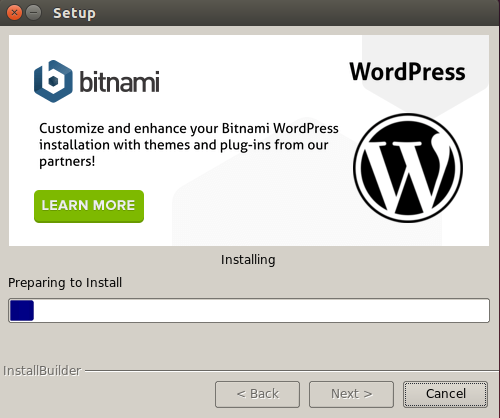
You’re almost done! Click Next a few times, decide whether you want to read more about Bitnami in a new browser window while the installation progresses, and the wizard will take care of the rest.
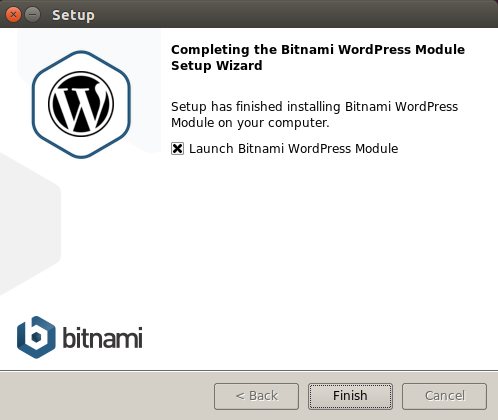
Once installation is complete, you’ll see a success screen. Click "Finish" to exit the installation and launch WordPress.
Step 2: Test WordPress
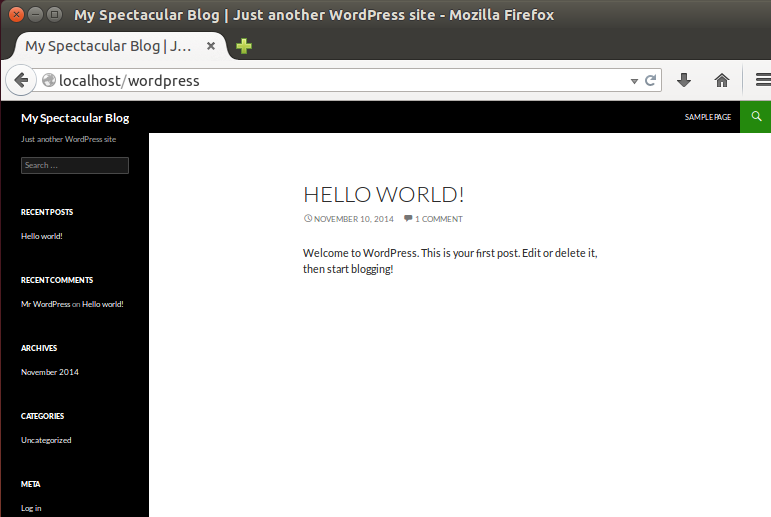
By default, WordPress is installed in your XAMPP installation directory, in the apps/wordpress subdirectory. The installation process will, by default, launch your browser and take you to the new WordPress blog anyway, but you can also access it directly at http://127.0.0.1/wordpress or http://localhost/wordpress. The screenshot below shows what you will typically see.
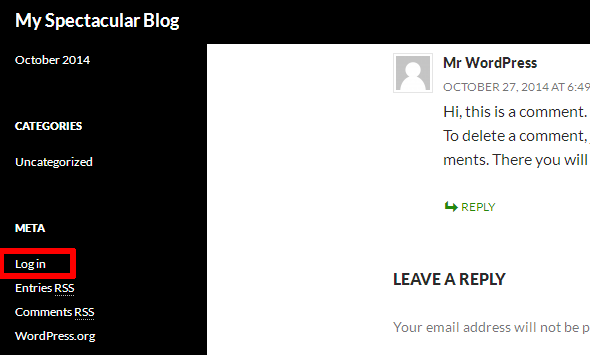
To delete this sample post or to create a new post, you need to first log in to the WordPress dashboard. You can do this either by clicking the "Log in" link in the left navigation bar or by browsing to http://localhost/wordpress/wp-login.php.
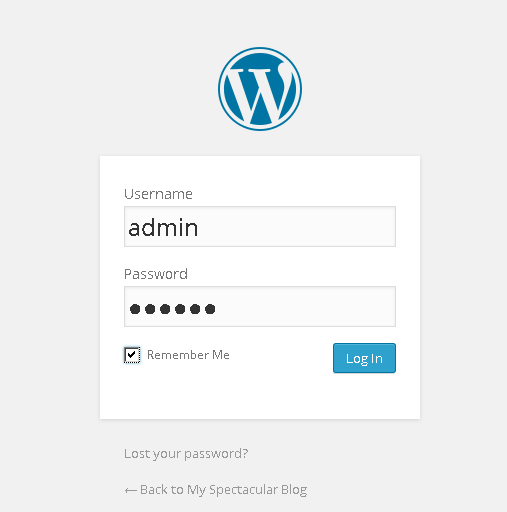
Log in using the administrator account you created in the previous step.
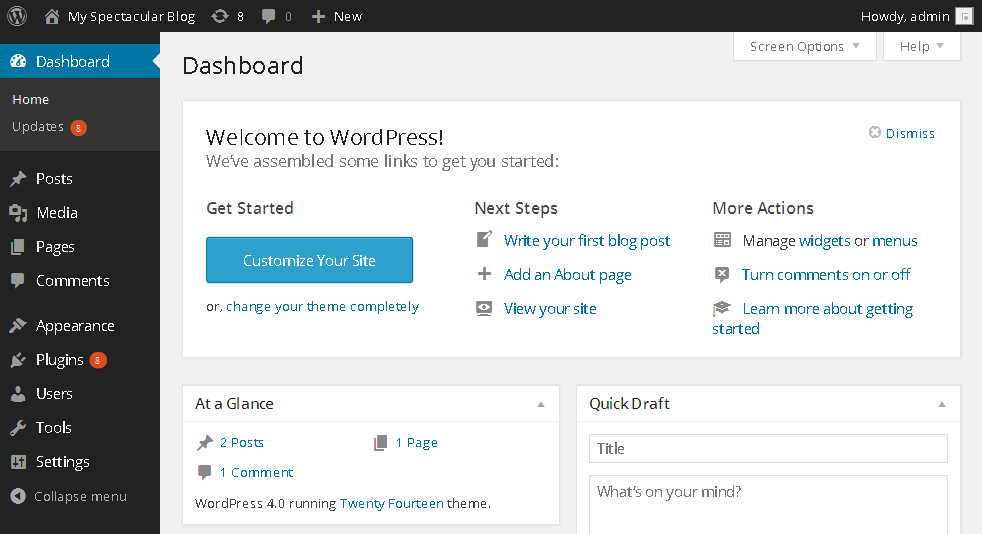
You should now arrive at the WordPress dashboard, which allows you to manage posts, pages and comments; customize your blog with themes and plugins; import and export content; manage navigation menus; add or delete new user accounts; and much more.
Step 3: Create an Editor Account and Start Blogging
As a general rule, you shouldn’t use the administrator account for routine tasks, such as creating posts or replying to comments. So, one of the first things you should do is create a new user account with minimal privileges, which you can use for these routine tasks. To do this:
-
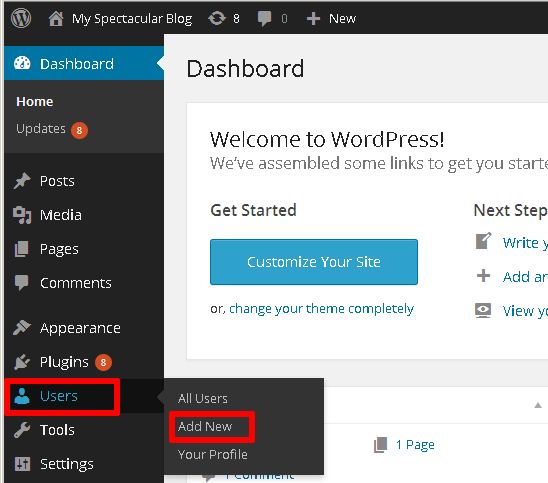
Select the "Users → Add New" menu option to create a new user account.
-
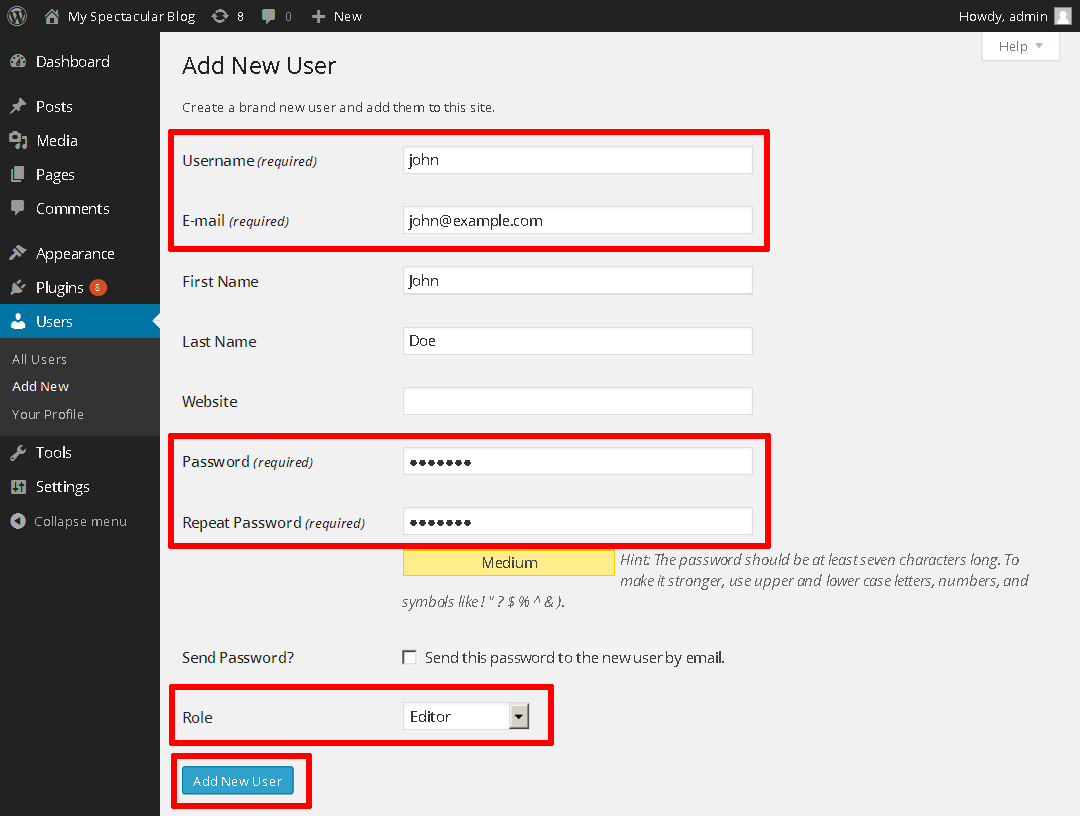
Enter a username, real name, password and other details for the account.
-
Assign the new account the role of "Editor".
-
Click the "Add New User" button to create the new user account.
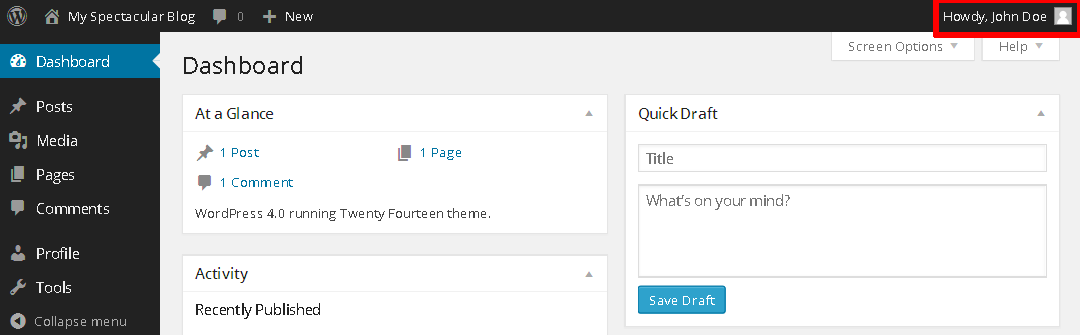
Once the account is created, use the "Log out" button (in the pop-up menu at the top left corner of the page) to log out. Then, log in using the new account you just created. You should return to the WordPress dashboard, but with a restricted set of tools.
You can now add a new post using the following steps:
-
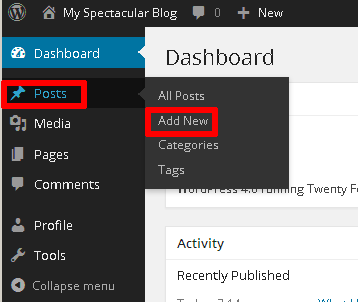
Select the "Posts → Add New" menu option to create a new post.
-
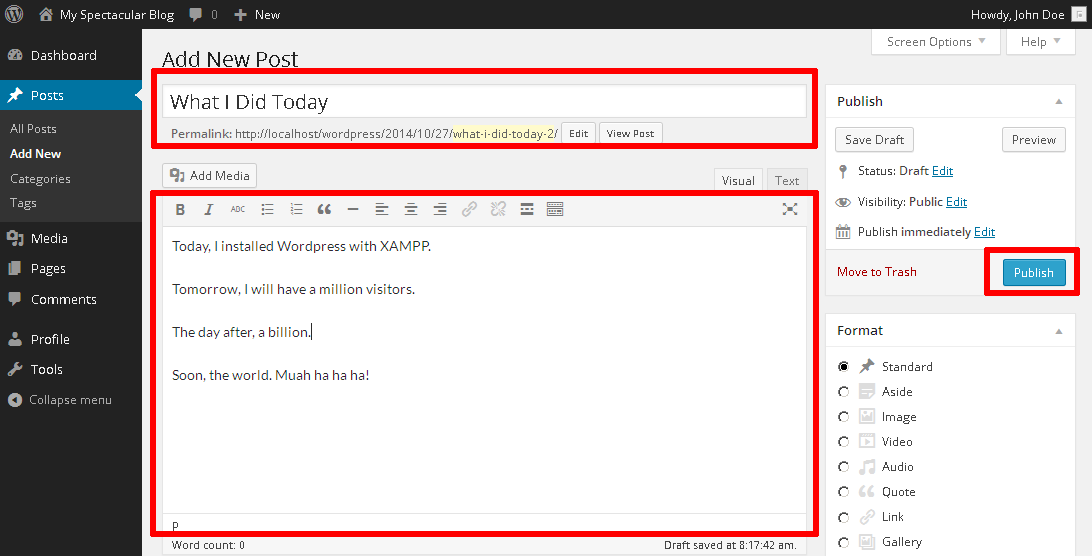
Enter a title and content for the post. You can use the formatting tools at the top of the content area to format your post and add hyperlinks or images.
-
Optionally, choose the format and category for your post.
-
Publish it immediately using the "Publish" button.
And now, when you visit your blog’s front page, you should see your new post.
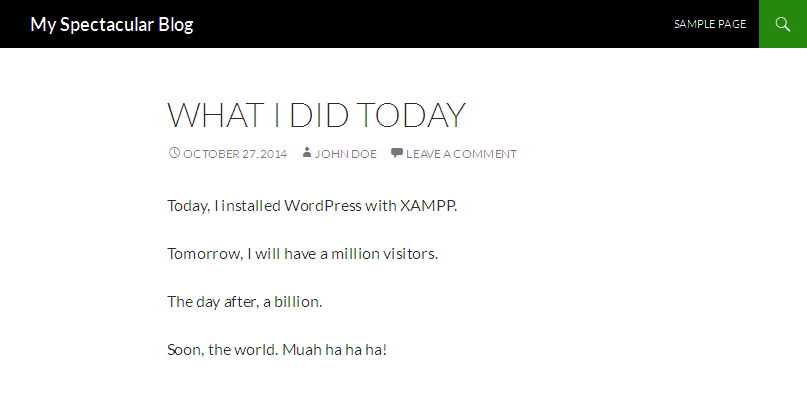
Congratulations! You now have a working, fully-functional WordPress blog.
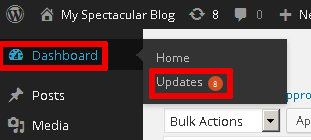
You can keep your WordPress installation up-to-date with the WordPress automatic update feature. To access this:
-
Log in to WordPress using the administrator account.
-
Select the "Dashboard → Updates" menu item.
-
Review the resulting page to see if WordPress needs an update. If an update it available, you can install it by clicking the "Update Now" button. You can also re-install WordPress if needed with the "Re-install Now" button. == Learn More To learn more about WordPress, XAMPP and Bitnami, use the links below: